Last updated October 31, 2026
 Water damage drying
 Fire & smoke cleanup
 Mold remediation
 Storm response
 Sewage cleanup
 Reconstruction
Free visual inspection and a written scope of work before any mitigation begins - photos, moisture readings, and drying logs go in your claim file
The scope we write is the scope we bill. Anything new gets shown to you, in writing, before we touch it.
Get your free estimateWater Damage Restoration Maintenance Checklist for Fontana Homeowners
Fontana’s water pressure runs significantly higher than what you’ll find in most coastal California cities. That chronic pressure, combined with the Inland Empire’s hard water mineral content and summer thermal swings, is why our restoration crews see a steady stream of slab leaks and supply-line failures in homes that looked perfectly fine from the outside. This guide walks you through the maintenance routine that catches water damage before it becomes a Water Damage Restoration services call: what to inspect, when to inspect it, and which readings tell you a problem is already underway inside your walls. By the end, you’ll have a working checklist built specifically for Fontana’s housing stock and climate, not a generic national template that ignores how homes here actually fail.
Quick Answer
A water damage prevention checklist for Fontana homeowners means testing your water pressure monthly with a $12 gauge (anything above 80 psi needs a regulator fix), inspecting attic penetrations and roof flashing quarterly before and after Santa Ana wind season, and logging moisture readings in vulnerable areas like water heater closets and under-sink cabinets twice a year. Most failures in Fontana homes are slow and hidden, not sudden and obvious, so the checklist is really a documentation habit: written readings, dated photos, and a baseline you can compare against when something feels off.
Restoration work we handle
Table of Contents
- Why Fontana’s Water Pressure Is Your First Inspection Point
- The Monthly Checklist: Ten Minutes That Prevents Most Failures
- The Quarterly Checklist: Climate-Timed for Fontana’s Seasons
- The Annual Checklist: Deep Inspections Tied to the Inland Empire Calendar
- Identifying Polybutylene and Early CPVC Supply Lines in Fontana’s Older Stock
- Building a Basline Moisture Reading Log
- The Attic Inspection Sequence for Roof Membrane Failures
- Common Mistakes to Avoid
- When to Call a Professional
- Frequently Asked Questions
Why Fontana’s Water Pressure Is Your First Inspection Point
Fontana sits in a water district where incoming municipal pressure routinely registers between 70 and 100 psi, depending on your proximity to the city’s booster stations and the elevation of your neighborhood. That’s well above the 50 to 60 psi range that most household plumbing fixtures and supply lines are designed to handle over decades. The gap between what the city delivers and what your pipes are rated for is where slow failures begin.
Here’s what actually happens. High pressure doesn’t usually burst a pipe outright. It stresses fittings, valve seals, and the crimp rings on flexible supply lines. Each time a dishwasher valve closes or a toilet fill valve shuts off, the sudden stop creates a water hammer shock wave that travels back through the line. At 90 psi, that shock wave hits harder than at 60 psi. Over months or years, the repeated impact loosens the weakest joint in the system, usually one buried in a wall cavity or under a slab. By the time you see the stain on the drywall or the warm spot on the floor, water has been escaping slowly for weeks.
Water Damage Restoration in Fontana calls often start with a homeowner saying “it just happened out of nowhere.” In our experience, it didn’t. The failure mechanism started long before the visible symptom. That’s why pressure testing is the first item on any Fontana-specific maintenance list, and why we treat pressure readings as the leading indicator for everything else.
How to Test Your Pressure and What the Reading Means
- Buy a water pressure gauge with a hose bibb fitting. They cost between $10 and $15 at any hardware store in Fontana, from the big boxes on Sierra Avenue to the smaller shops on Foothill Boulevard.
- Attach it to the hose bibb closest to where your main line enters the house, usually in the garage or on an exterior wall near the front yard.
- Turn the water on fully and read the gauge. Do this when no other water is running in the house.
- Record the reading. Repeat this monthly and watch the trend.
The number that matters: anything above 80 psi is a problem that needs correction. Between 60 and 80 is acceptable in the short term but worth monitoring. Between 45 and 60 is the healthy target range. Below 45 suggests a different issue, possibly a failing pressure regulator or a municipal supply problem that needs a plumber’s diagnosis.
If you’re above 80 psi, the fix is a pressure reducing valve (PRV) installed at the main line, or the adjustment of an existing PRV that has drifted out of calibration. A plumber handles this in under two hours in most Fontana homes. The cost is minor compared to the slab leak repair bill that would otherwise follow. If you’re renting, this is a maintenance request you have the right to make in writing: high pressure is a known cause of premature plumbing failure, and documenting your reading is the best leverage you have.
The Monthly Checklist: Ten Minutes That Prevents Most Failures
Monthly inspections in Fontana are about catching the things that change from week to week without you noticing. Water pressure, visible valve leaks, and appliance supply line condition are all fast checks that take less than ten minutes combined. The point isn’t to fix anything, it’s to establish a written record that shows you what “normal” looks like so that an abnormal reading stands out immediately.
Monthy Water Damage Prevention Tasks
- Test water pressure at the hose bibb and log the reading. Watch for any upward drift across consecutive months.
- Check under-sink supply valves in the kitchen and all bathrooms. Run a dry finger around the valve stem and the compression nut. Any moisture at all, even a faint dampness, is a preliminary leak warning.
- Inspect washing machine hoses. Look for bulging, cracking, or mineral crust at the connection points. Fontana’s hard water accelerates rubber degradation at the fitting edges.
- Check toilet supply lines and tank connections. Listen for any hiss after a flush cycle finishes. A quiet hiss means the fill valve isn’t sealing completely, which means continuous flow and continuous pressure stress.
- Look at the water heater area. Is the floor dry? Is there any rust staining on the tank shell or the pan underneath? A small pinhole leak in a water heater can drip for months before it becomes visible as a puddle.
- Scan ceilings below bathrooms. If you have a two-story home or a bathroom over a garage, look at the ceiling directly beneath the toilet and tub. A faint yellow ring or any texture change is the first sign of a slow drain or supply leak.
Keep these readings in a simple notebook or a note on your phone. Month one establishes the baseline. Month three confirms it. Month twelve gives you a trend line that will catch a failing valve or a drifting pressure regulator before the failure, not after. This is the single biggest difference between Fontana homeowners who catch water damage early and those who need our Water Damage Restoration Troubleshooting: Common Problems and How to Fix Them advice for a much larger job.
The Quarterly Checklist: Climate-Timed for Fontana’s Seasons
Fontana’s climate runs on a specific rhythm: dry Santa Ana winds in the fall, occasional heavy rain events in winter and early spring, and intense summer heat from June through September. Each season stresses different parts of your home’s water envelope. Quarterly inspections are timed to catch the failure modes that each season creates.
January to March: Post-Rain and Winter Check
- Walk the roof line from the ground. Look for lifted shingles, shifted tiles, or visible gaps at flashing points around vents, skylights, and the chimney. Even a small gap lets water in during the next storm.
- Inspect the attic after any heavy rain. Bring a flashlight and look specifically at the underside of the roof decking, the areas around any penetration (vent pipes, HVAC flues, exhaust fans), and the insulation at the eaves. Dark staining or water marks on the wood means the roof membrane has already been compromised.
- Check exterior drainage. Are the downspouts directing water at least three feet away from the foundation? Have winter rains eroded soil around the slab edge? A low spot that holds water against the foundation is a slow slab saturation risk.
- Test the water heater temperature and pressure relief valve. Lift the lever briefly and let it snap back. It should release a burst of water and stop completely when closed. If it drips afterward, the valve needs replacement.
April to June: Pre-Summer Heat Check
- Inspect all flexible supply lines to appliances, toilets, and sinks. Heat causes rubber and plastic to expand and contract. Over time, this thermal cycling cracks the materials, especially in garages and exterior-facing walls where temperatures swing the most.
- Check air conditioner condensate drains. In Fontana’s summer, the AC runs hard and produces gallons of condensation daily. If the drain line is clogged, that water backs up into the air handler pan and eventually overflows into the ceiling or wall cavity. Pour a cup of white vinegar down the condensate line and verify it flows freely.
- Walk the irrigation system if you have one. A cracked sprinkler head or a buried lateral line leak can saturate the soil near the foundation for weeks before you notice a spike in your water bill. Watch each zone cycle and look for any area that stays wet longer than the rest.
July to September: Peak Heat and Monsoon Season
- Re-inspect all visible supply lines, especially the ones in non-climate-controlled spaces. Attic and garage exposure in a Fontana summer pushes temperatures above 130°F in some spaces, which accelerates material failure faster than any other factor.
- Check the water heater’s expansion tank if you have one. Summer heat plus higher incoming water temperature increases thermal expansion pressure inside the tank. A failed expansion tank sends that pressure into the supply lines instead, which is a common trigger for pinhole leaks.
- Verify that the AC condensate line is still flowing. This is the highest-demand season for condensation, and a drain that was fine in May can clog by August as algae and mineral scale accumulate.
October to December: Santa Ana and Pre-Rain Preparation
- Clear all roof drains and gutters. Santa Ana winds blow dust, leaves, and debris into Fontana’s roof valleys and gutters. When the first real rain arrives, blocked drainage sends water over the gutter edges and down the fascia, where it finds its way into wall cavities.
- Inspect all exterior caulking and sealant around windows, door frames, and any exterior wall penetration. Hot, dry Santa Ana air dries out sealant and causes it to crack. A cracked bead around a window frame is an open path for rain to enter the wall assembly.
- Check roof flashing around the chimney, vents, and skylights for any shift or gap. Santa Ana winds can lift flashing faster than any other weather event, and the damage is almost never visible from the interior until water has already soaked the framing.
- Run the attic inspection sequence detailed below one final time before the rainy season starts, so you have a documented baseline before any potential roof leak occurs.
The Annual Checklist: Deep Inspections Tied to the Inland Empire Calendar
Once a year, you need to go deeper than the quick checks. The annual inspection is the time to actually get into the crawlspace or the attic, look at the water heater and HVAC system closely, and test components that don’t get touched at any other time of year. In Fontana, the best time for this is late September or early October, after the worst of the summer heat but before the first winter rains.
The Annual Deep Inspection Sequence
- Complete a full attic walkthrough. Bring a bright flashlight and a moisture meter if you have one. Check every roof penetration, every seam in the roof decking, and every area where insulation contacts the roof. Look for dark staining, white mineral deposits, or any change in wood color.
- Inspect the water heater thoroughly. Remove the access panel and check the burner and thermostat area for any corrosion. Look at the tank seams, the cold inlet and hot outlet connections, and the drain valve. A water heater that’s more than ten years old is a replacement candidate even if it looks fine.
- Test the main water shutoff valve. Turn it off and on completely. A valve that’s stuck or partially seized may fail to close completely when you actually need it during an emergency. Exercise it once a year and it will work when you need it.
- Check all hose bibbs and exterior faucets. Look for any dripping or seepage around the stem when the valve is fully closed. An exterior faucet that leaks slowly against the foundation wall is a wet wall condition waiting to happen.
- Run the dishwasher and washing machine through a full cycle while you watch the supply connections and drain connections. Look for any moisture at the fittings, any bulging in the hoses, and any water pooling at the base.
- Inspect all supply lines and shutoff valves in the home systematically, one room at a time. This is the most time-consuming part of the annual check, but it’s also the part that catches the slow failures that will otherwise go undetected for years.
- Clean or replace the AC condensate drain line and verify the emergency shutoff float switch works. The float switch is the component that shuts down the AC if the drain pan overflows, which is the difference between a preventable overflow and a ceiling collapse.
- Photograph everything. Date-stamped photos of your attic, your water heater, your under-sink areas, and your exterior drainage create a record that’s useful both for your own documentation and for any insurance claim that may come later.
This annual sequence takes two to three hours for most Fontana homeowners. It’s the highest-value prevention work you can do, and it creates the documentation trail that makes any future insurance claim straightforward and defensible. The homeowners who have a dated record of their inspections are in a much stronger position when an adjuster asks when the damage started.
Identifying Polybutylene and Early CPVC Supply Lines in Fontana’s Older Stock
Fontana’s housing boom ran hard through the 1980s and 1990s, and materials that were common then have since proven problematic in Southern California’s specific water chemistry and pressure conditions. If your home was built between roughly 1978 and 1995, you may have polybutylene supply lines, and if it was built in the 1990s, you may have early-generation CPVC that has become brittle with age and heat exposure.
Polybutylene is a gray or occasionally white plastic pipe that was installed in millions of homes nationwide before the material’s failure rate became clear. Polybutylene reacts with chlorine and other oxidants in municipal water supplies, eventually breaking down from the inside out. The failure is rarely a dramatic burst at first; it’s a slow degradation that ends with sudden cracking at fittings and joints, often inside walls and under slabs. Fontana’s high water pressure accelerates the process by stressing the already-weakened material.
If you’re not sure whether you have polybutylene, here’s how to identify it:
- Look at any exposed pipe in the garage, under sinks, behind toilets, or at the water heater. Polybutylene is typically gray with a dull finish, not the glossy white of PVC or the bright red and blue of modern PEX.
- Check the pipe size. Polybutylene is usually 1/2 inch or 3/4 inch, the same as other supply lines, but with a distinct flexibility and a slightly soft feel compared to PVC.
- Look at the fittings. Polybutylene uses copper or black plastic fittings with aluminum or copper crimp rings, not the colored rings used on modern PEX systems.
- Check the connection at the water heater and at any shutoff valve. Polybutylene connections often have a distinctive gray plastic sleeve at the fitting.
Early CPVC (chlorinated polyvinyl chloride) is a different material with a different failure mode. The yellow or beige plastic pipe, common in 1990s construction, becomes brittle when exposed to heat and UV light over decades. The pipe itself may look fine from the outside, but the fittings and the areas near any heat source (water heater, attic runs, exterior wall cavities) become fragile. A small impact, a pressure spike, or even thermal expansion can crack the fitting and start a leak.
If you have either material in your Fontana home, this changes your maintenance priorities significantly. You should be increasing your inspection frequency on all accessible supply lines, testing your water pressure more often, and getting a professional assessment of the system’s overall condition. A leaker from polybutylene or brittle CPVC may be hidden inside a wall until the damage has been spreading for a long time. Dry Line Water Damage home documentation of past jobs in Fontana includes multiple cases where polybutylene fittings failed behind shower walls and under kitchen cabinets, creating mold conditions that were invisible until demolition started.
Building a Baseline Moisture Reading Log
A baseline moisture log is the single most underused tool in home water damage prevention. It’s simple: you use an inexpensive moisture meter to take regular readings in specific locations around your home, record the numbers, and compare them over time. When a reading drifts upward in one location while everything else stays stable, you have an early warning of a slow leak that’s active right now, not a guess.
You can buy a pin-type moisture meter for $30 to $60 online or at any Fontana hardware store. Pin-type meters work by pushing two small probes into the material being tested and measuring electrical resistance between them, which correlates with moisture content. It’s a quick, repeatable test that doesn’t damage building materials beyond two tiny pinholes.
Where to Take Baseline Readings
- Under every sink, on the cabinet floor and the back wall behind the plumbing.
- Around the water heater, on the floor pan, the wall behind the tank, and any adjacent wall surfaces.
- On the ceiling below each bathroom, especially around the toilet and tub areas.
- On the wall behind the washing machine and the floor beneath it.
- On any interior wall that shares a face with exterior stucco, where rain penetration is possible.
- On the slab floor in the garage, particularly near the water heater and any interior wall line.
- Inside the bathroom vanity lower cabinets, at the back panel and the cabinet floor.
How to Build the Log
- Buy the moisture meter and test it on a known dry surface first, like an interior wall in the center of the house. That’s your reference reading for that material type.
- Take readings in every location on the list above and record them with the date. Dry wood typically reads between 6% and 12% on a pin-type meter. Drywall is usually 5% to 10%. Concrete slabs can read higher even when dry, so the key is consistency, not the absolute number.
- Repeat the readings in the same locations every six months.
- Watch for any location that drifts upward by more than 3 to 4 percentage points from its baseline. That’s your trigger to investigate, not to wait.
The log is especially useful in Fontana because our slab-on-grade construction hides leaks in a way that raised-foundation homes don’t. You can’t see under the slab. But you can see a moisture reading on the slab surface that has risen over time, telling you that something is leaking below. When we run Mold Remediation in Fontana projects, the moisture log often becomes the key evidence of how long a leak was active before the homeowner noticed the visible symptom.
The Attic Inspection Sequence for Roof Membrane Failures
Most Fontana homeowners check their attic about as often as they check their roof, which is to say almost never. But the attic is the first place that shows evidence of a failing roof membrane, and the sequence matters. You’re not looking for water dripping through the insulation; you’re looking for the subtle marks that water has already been there.
The Inspection Sequence, In Order
- Enter the attic with a bright flashlight and a moisture meter. Do this in the early morning or late afternoon when the exterior temperature is moderate. You want to see the surfaces, not fight the heat.
- Look at the underside of the roof decking first, working systematically from one corner of the roof to the other. You’re looking for any dark staining, any white or gray mineral residue, any warping or cupping of the wood, and any area where the decking color doesn’t match the surrounding wood.
- Trace every penetration: the plumbing vent stacks, the HVAC flue, the exhaust fan ducts, the skylight wells. Look at the flashing around each one from the attic side. Staining or moisture here means the flashing has pulled away from the pipe or the roof surface.
- Check the insulation, especially at the eaves. Dark or compressed insulation in a localized area suggests water has been running down the roof decking and pooling at the wall line. Insulation that’s damp or has a musty smell is a confirmed water incursion point.
- Examine the ridge beam and the rafters. Water damage shows up here as dark streaks or staining that runs vertically along the wood. A leak at the ridge is a failed ridge cap or a failed section of underlayment, both common in Fontana’s older tile roofs after the Santa Ana winds lift and shift tiles.
- Look for any daylight visible through gaps in the roof. If you can see light, water can enter. Gaps at the eaves, at the ridge, or around penetrations are direct openings.
- Smell the air. A musty or earthy odor in the attic, even without visible staining, is a sign that moisture has been present recently. Microorganisms start growing within 24 to 48 hours of water exposure, and the odor is often detectable before the staining becomes obvious.
Document everything with photos and your moisture readings. The first time you do this sequence, it’ll take you twenty minutes. After that, you’ll know your attic’s baseline and you’ll notice changes in under ten. This is the inspection that catches roof failures before the first water stain appears on the ceiling, and it’s the one that most homeowners in Fontana skip until the damage is already through the drywall.
Common Mistakes to Avoid
- Checking water pressure once and never again. Municipal pressure in Fontana fluctuates as the city adjusts its system and as demand shifts. A reading that’s fine in March can be dangerously high by August. Log it monthly.
- Ignoring a small ceiling stain because it’s dry. A dry stain means the water stopped, but it doesn’t mean the problem is gone. The leak that caused it can reactivate in the next storm, and the stained area is now a mold incubation site. Investigate the source every time.
- Replacing a leaking supply line with a cheap big-box hose. The braided stainless lines sold at big-box stores are better than rubber, but many are still undersized for Fontana’s pressure. Buy lines rated for at least 100 psi and replace them every five years regardless of appearance.
- Assuming a newer home is safe. Fontana has continued building through every decade, and even homes from the 2000s and 2010s can have failing materials, especially in the AC condensate systems and the irrigation lines. Age helps you prioritize, but it doesn’t exempt you from inspection.
- Skipping the attic because you replaced the roof recently. A new roof installs in a day or two, but the underlayment, flashing, and penetration seals are only as good as the installer’s attention to detail. New roofs fail at the flashing points more often than anywhere else.
- Not knowing where the main shutoff is. During a leak, the time you spend searching for the shutoff is the time the water is spreading. Locate it, label it, and test it before you need it.
- Treating a moisture meter as a one-time tool. A single moisture reading tells you almost nothing. A series of readings tells you everything. The log is the whole point.
When to Call a Professional
Some conditions call for equipment and training beyond what a homeowner can reasonably manage. If you have a visible leak that has been active for more than 48 hours, the water has had time to move through walls, wick into insulation, and saturate drywall. That’s a restoration job, not a DIY dry-out, because the hidden moisture will continue spreading even after the visible wetness is toweled up. If you find mold growth larger than a few square feet, or if you smell a persistent musty odor you cannot locate, the situation needs professional assessment. If your water pressure reads above 80 psi despite a recent regulator adjustment, or if you discover polybutylene plumbing that’s showing signs of failure, get an expert opinion before the failure expands. Dry Line Water Damage offers free estimates in Fontana and can assess the scope with the same Dri-Eaz and Phoenix equipment we use on large-loss restoration jobs. Call (833) 589-5317 to schedule a walkthrough.
Frequently Asked Questions
Monthly. Fontana’s water pressure varies through the year as the city adjusts its supply system, and a monthly reading takes less than two minutes with a $12 gauge. Anything above 80 psi should trigger a call to a plumber for a pressure reducing valve assessment.
Slab leaks from high water pressure and aging supply lines are the most common hidden source we see in Fontana. The leak starts slowly under the slab or inside a wall cavity, runs for months without visible signs, and eventually shows up as a warm floor spot, a rising water bill, or a ceiling stain in the room below.
Yes, a pin-type moisture meter can detect elevated moisture in slab surfaces and interior walls, but the key is taking readings consistently over time. A single reading won’t tell you much. A series that shows a rising trend in one area is a strong indicator that a leak is active nearby.
Look at any exposed supply pipe in your garage or under a sink. Polybutylene is usually gray with a dull finish, often with copper or black plastic fittings secured by aluminum or copper crimp rings. If your Fontana home was built between 1978 and 1995, you may have polybutylene, and if any fitting shows signs of cracking, corrosion, or weeping, you should have the system assessed.
Coverage depends on your policy language, not on what any contractor says. Most policies cover sudden and accidental water damage, but many exclude damage from leaks that occurred over a long period of time. That’s why documentation matters: a moisture log that shows a sudden change in readings supports an argument that the damage was sudden, which is what the policy covers.
Document what you see with photos and moisture readings, then call a professional who can trace the water path with thermal imaging and moisture mapping. Visible attic staining means water has been entering for a while, and the source is often above the point where you see it, not at it. A roof inspection combined with an interior moisture assessment will identify the entry point.
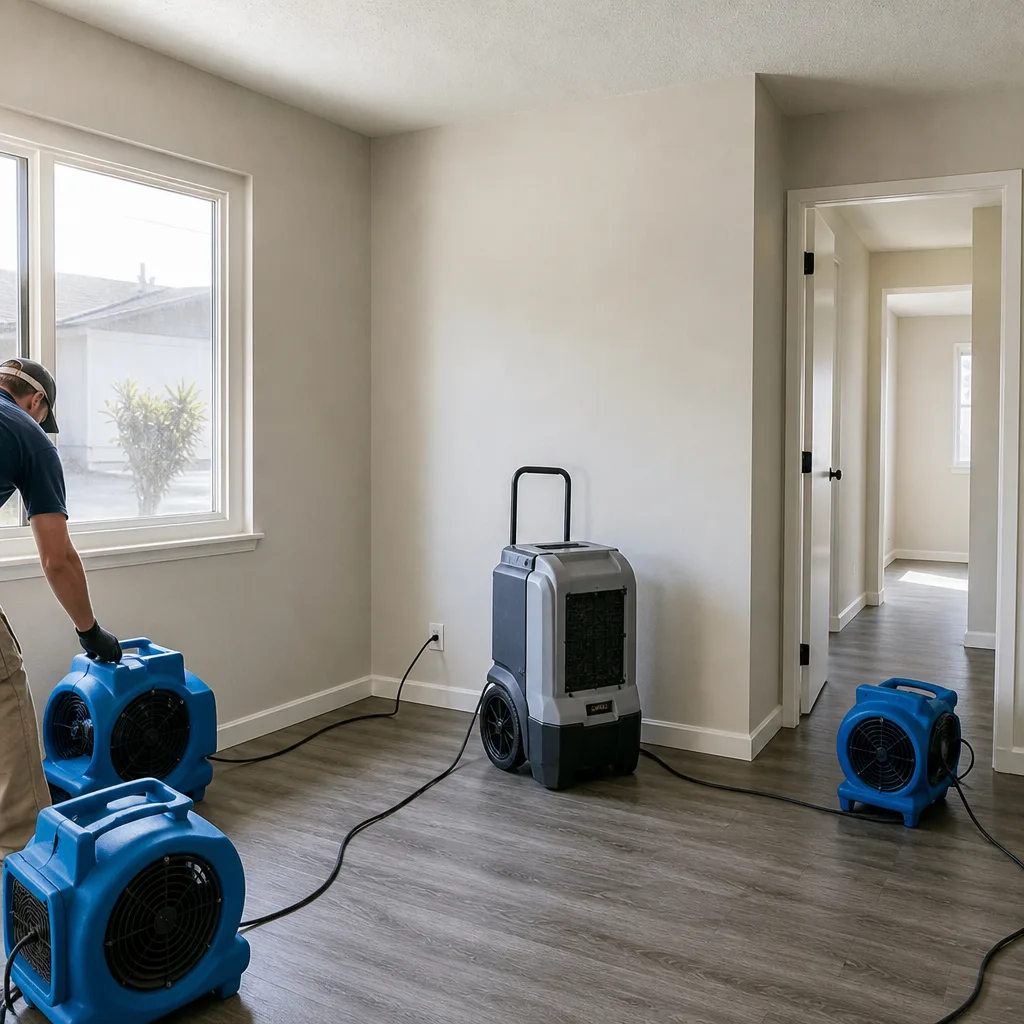
Microbial growth begins within 24 to 48 hours of water exposure in Fontana’s warm climate. That doesn’t mean visible mold will appear immediately, but the conditions for growth are established quickly. Drying needs to start within the first 48 hours to prevent a much larger remediation scope. This is why we run commercial-grade dehumidifiers like the Dri-Eaz and Phoenix units, not consumer rental machines, on every Fire Damage Restoration in Fontana and water mitigation project.
The Bottom Line
Water damage in Fontana is a slow, cumulative process, not a sudden event. The homes here carry higher water pressure, older plumbing materials, and a climate that stresses seals, flashing, and supply lines harder than coastal areas. Your defense is a documented routine: monthly pressure tests, quarterly climate-timed inspections, an annual deep walkthrough, and a moisture log that shows you the trend before the trend shows you the damage. Skip the generic checklist that tells you to look for visible leaks. In Fontana, the leaks that matter are the ones you can’t see yet. Start with the pressure gauge and the attic sequence, build your baseline, and you’ll catch most failures months before they become restoration calls. For help selecting a qualified local team, see our Choosing the Right Damage Restoration Brand: A Buyer’s Guide for Fontana.
Written by the team at Dry Line Water Damage, serving Fontana since 2013. Explore more guides & resources on protecting your home.
See the difference
 Before
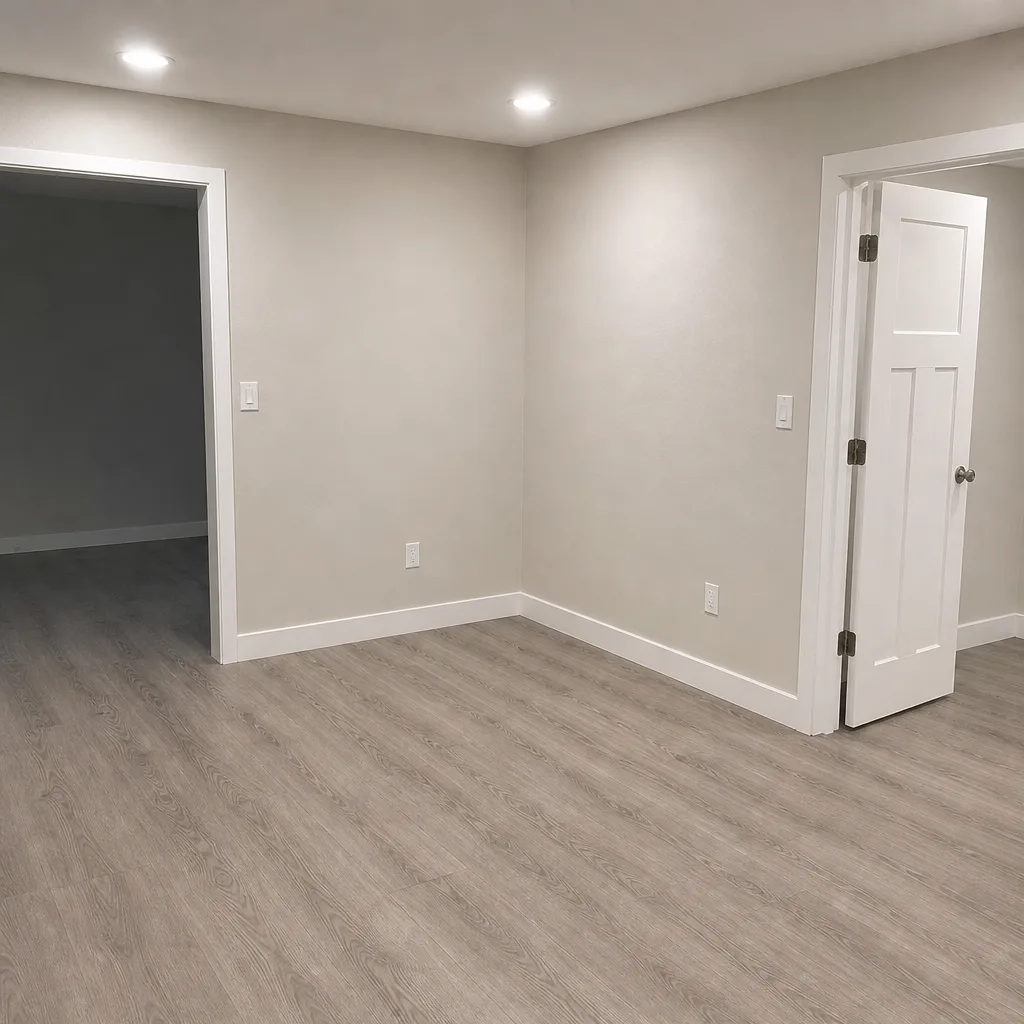 After
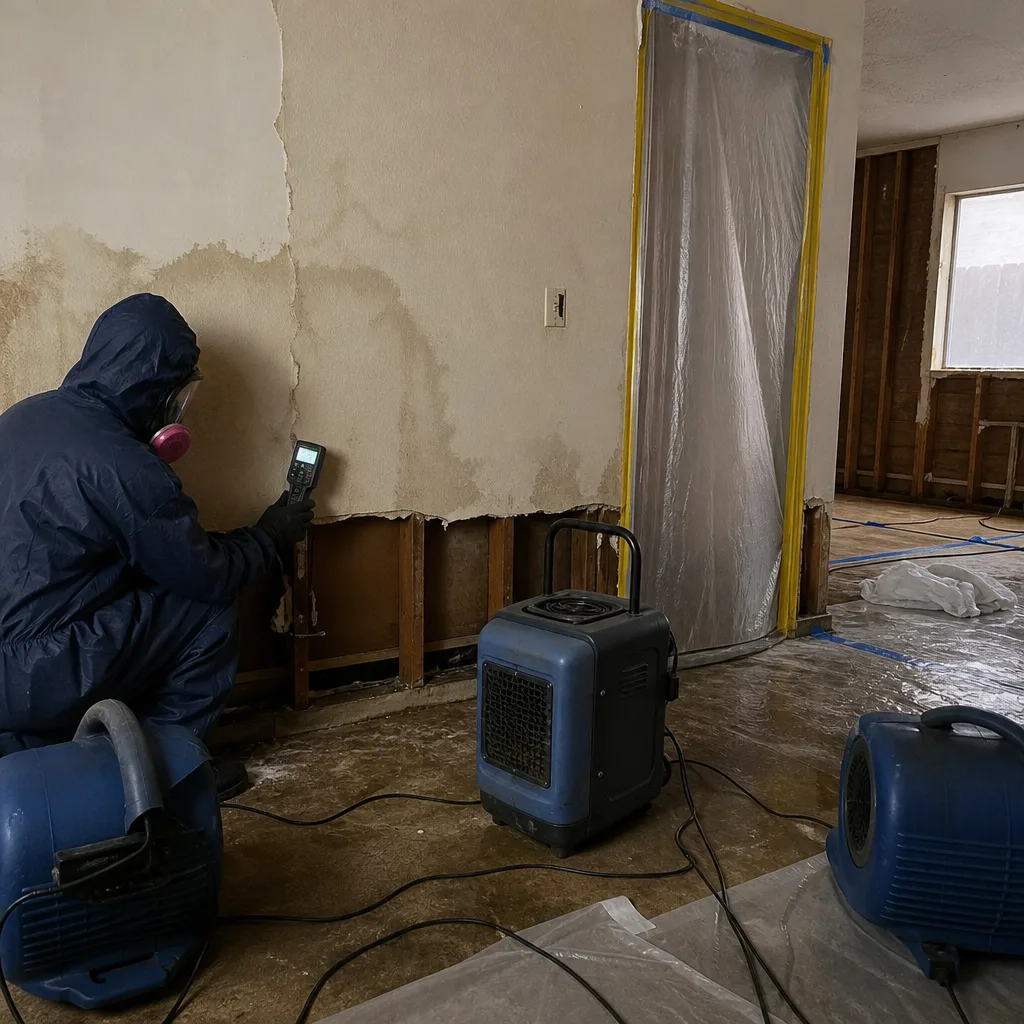 Before
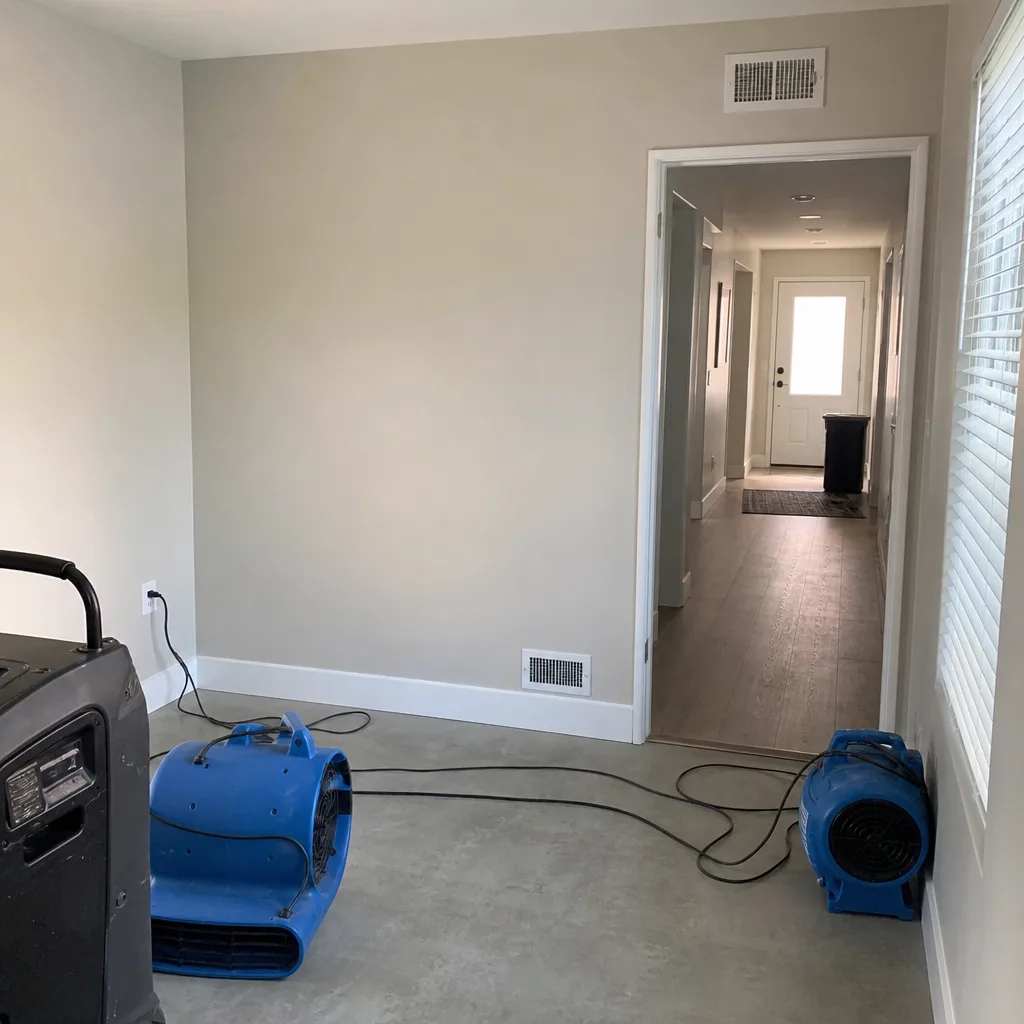 After
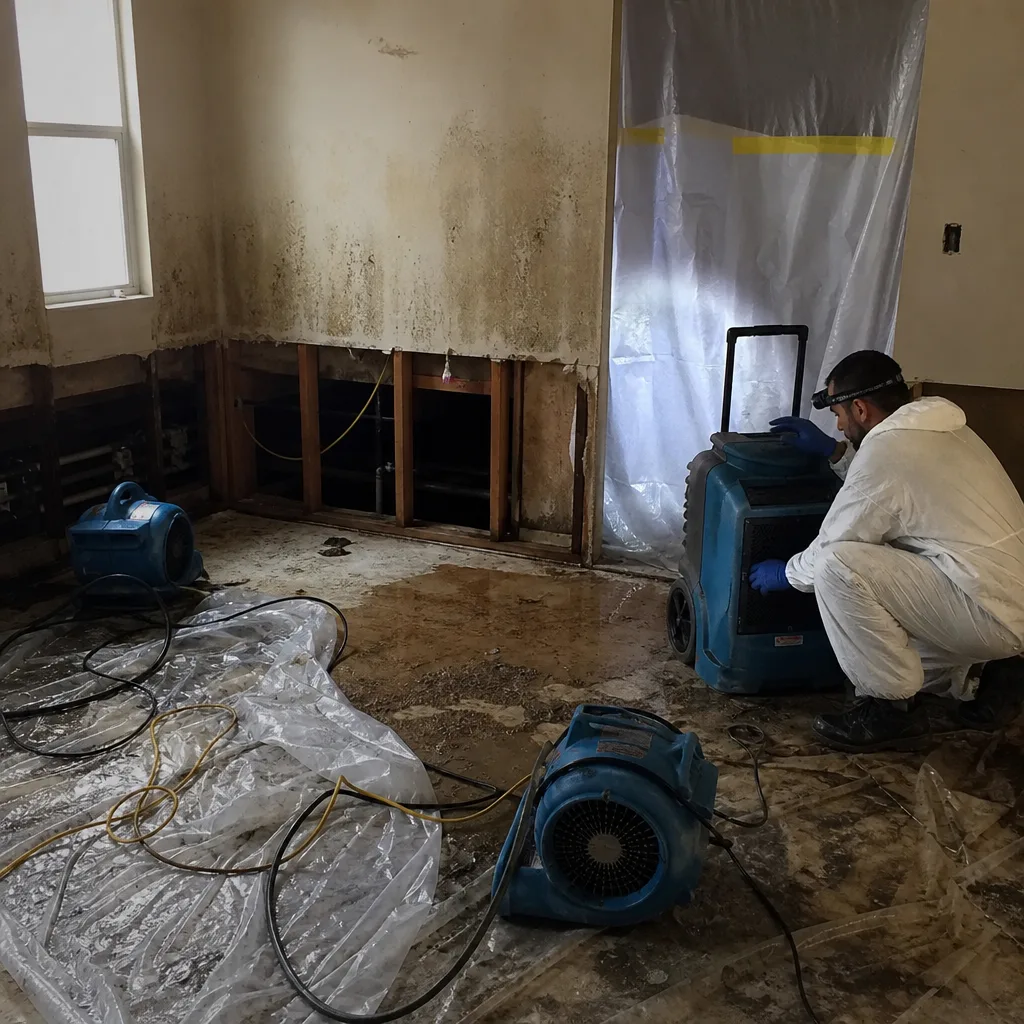 Before
 After